Weed requires a skillful process but is easy to pursue as a stoner. There is no stress in having homegrown weed, and you can determine the cost. You can expect good yields if the process is done right. Making early decisions will save you some losses and cut costs for your weed gardening. Here is a step-by-step guide on how to grow high-quality weed at home without stress.
Step 1: Choosing Your Cannabis Seeds
You have to make your selection from Sativa, ruderalis, Indica, and hybrid. As a stoner, you already know what strain creates the best experience for you, making it the best to start with. After a personal taste, it’s time to consider gardening situations. Are you planting in a little space like a cupboard or an ample space like a backyard?
If you decide to buy marijuana seeds online, ensure the buyer has lots of positive reviews
Step 2: Cannabis Fundamentals
You must follow some crucial steps to have high-quality weed at home with juicy buds.
- The plant requires eighteen hours of light. You can control the lighting with a timer for indoor gardening, but outdoor ones get twelve hours daily.
- The farm should contain reliable nutrients if you’re using the soil. But aeroponics, deep water, or hydroponics requires no soil and gets nutrients from the nutrient mix.
- The plant requires natural moving air. It’s easy for the outdoor gardener, but the indoor gardener requires air exhaust and a fan to circulate moving air. Avoid piling up aspirated gases to avoid stunted plants.
- Water is necessary for the plant to perform its biological activities and thrive. Weed grown outdoors may rely on rainfall, but indoor gardeners need unmodified water for a hydroponic and soilless system with a steady pH.
- The temperature is set at twenty-seven degrees, although the plant can survive cold and heat except in extreme conditions.
- The soil nutrients should be rich in vitamins, minerals, living organisms, and compost. You can water with molasses, feather meals, or compost tea. Indoor growers can buy a pre-made nutrient mix.
Step 3: Germination and Cannabis Seedlings
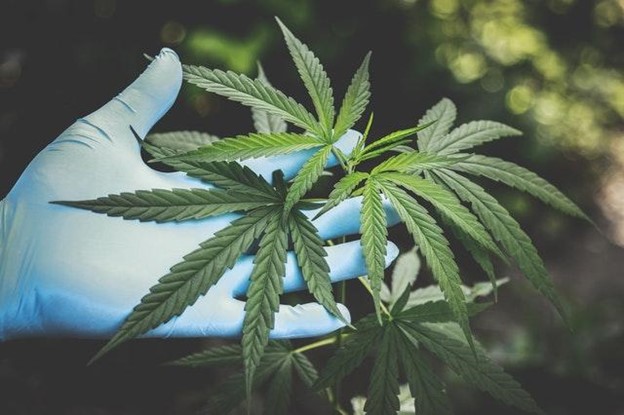
Growing cannabis requires water, warmth, and a good soil mix. The method is more art than skill to use effective ways to grow the buds. There are different germination methods, such as
- You can place seeds into a medium to avoid transplanting. It is best grown in a small pot compared to large or bigger pots.
- You can use a paper towel in a dark environment. Cover the seeds with a plastic or an upturned plate to regulate moisture and humidity.
- The jaffles, plugs, and rock wool process require transplanting. You can grow many seeds in the exact location using this method.
- Another method is immersing the seeds in enzyme-enriched water before transplanting them to a medium.
Step 4: The Blooming Period of Healthy Cannabis
Blooming, flowering, and budding are the growing phases of weed. The plant begins to flower depending on the strain. But all strains have a typical blooming phase that starts after vegetation.
Outdoor growers can start seeing signs after the heat of summer and the start of autumn. Indoor planters can control flowering by changing lighting to maintain twelve hours a day and twelve hours at night. Each cannabis experiences hormonal changes to start blooming. Here are two types–APD and auto-flowering.
- APD or Absolute Photo Determinate plants hormone does better in a sensitive environment. The process is slow in low light and at night.
- Auto-flowering strains’ hormones rely on age. The process starts after germination before flowering begins.
The Different Stages of Blooming
Differentiation: you start noticing changes after the flowering phase. The differentiation is seen as branches begin to grow zig-zag and cover the distance between nodes.
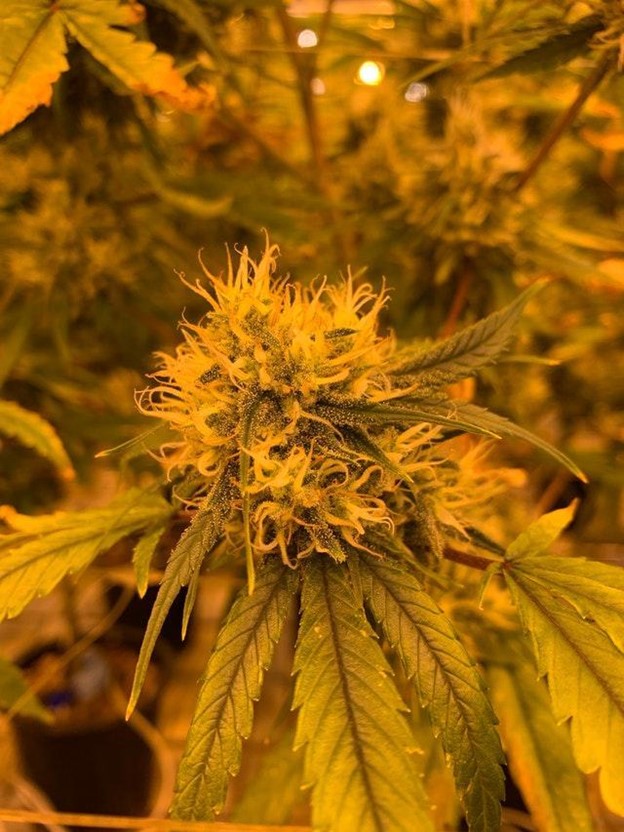
Blooming: The flowering stage is the same for all strains. You can expect proper flowers after the differentiation stage. These flowers are called calyxes which form pistils. The pistil, calyxes, and leaf tops contain young trichomes. Weed has puffballs of calyxes with spikes for fresh fluorescence and leaves. Unlike other plants, weed leaves are thicker, more minor, heavier, and surrounded by trichomes half concealed by flower clusters. After a week, the flower cluster increases to form colas in swollen resin trichomes.
Step 5: Harvesting and Drying for Best Quality Buds
In this stage, the plant is fully covered in trichomes with different colors of pistils like brown, mauve, scarlet, and orange, depending on the strain. The color changes from clear to milky, milky to amber. The swollen flower cluster turns inside out as the color changes. When is it time to harvest?
- You can harvest when observing a 20 to 30% amber color on the trichomes to have weed with high THC content.
- Or when trichomes’ color change to 60 to 80% amber to get a broad spectrum. The difference can happen between twenty-four hours.
Harvesting the Marijuana Plant
There are no specific ways to harvest weed, but here are some recommended ideas:
- You can trim the plant to remove flowers. The plant is broken or cut and dried on a drying rack.
- You can trim large sugar leaves before cutting and drying the plant.
However, both ways require careful handling to avoid disrupting trichomes.
Drying Cannabis
Drying your cannabis needs a dark warm place with low humidity. The outcome is slow and could take two or more weeks.
The post How to Grow High-Quality Weed at Home appeared first on The Joint Blog.
Source: https://thejointblog.com/how-to-grow-high-quality-weed-at-home/
